
How to Plan, Locate and Capture the Milky Way Galaxy Using DSLR/Mobile (18-55mm kit lens)
Hello readers in this article we are going to learn how to plan, locate and shoot the milky way galaxy from the earth (obviously) milky way is a spiral galaxy and we live on one end of its arm that’s kind of strange as well if you are living in the northern hemisphere then you’ll be able to see and capture the core or the brightest part in the summer time while in winters you’ll see the opposite one and that will not be too good. Let’s get started
Planning to shoot the Milky Way
Get Away From Pollution
There is not a lot of things that you need to keep in mind while planning to shoot the milky way galaxy the only thing you need to take care is the pollution level yes light pollution. You’ll have to get as far away as possible from the light it maybe city light moon light or some other lights. It will be very difficult for you to capture the milky way from cities like Delhi, Mumbai as these cities have a lot of light pollution and you can barely see any stars from such places. Delhi has a lot of air pollution as well so it may not be possible for the people living here to see the milky way. trying moving as away from cities as possible you can use dark site finder map where you can find some really dark skies.
Dark Site Finder – https://darksitefinder.com/maps/
Time of the year
It is very advisable to shoot the milky way in the nights when there is no moon as moon luminosity is very high sometimes and it will ruin all your shots, try shooting on nights when there is no moon or in the nights when moon rises late in the night usually the moon rises very late after its full phase you can use that to your advantage the moon keeps on rising late and late until the new moon.
Try moving towards the south direction as much as possible to get the best shots of the milky way galaxy. Shots from Andaman and Nicobar islands are one of the best from India as they don’t have a lot of air pollution no light pollution and they are located towards the south as well. If you are in the northern hemisphere the best time is the summers as the core is visible very clearly during the summer months you can point your camera to the south or south east side to capture the milky way if you are in very dark places then you can also see the milky way from naked eye it may not look exactly like what you see in the images it will look like a pale white band running in the sky .
You can use software like stellerrium to get a better understanding of the direction and the time of rise and setting of the milky way galaxy.
Link to Download stellerium – https://stellarium.org/
The Gear
In order to capture a milky way, you’ll basically need a camera it may be a mobile or a dslr camera a mobile with a built-in pro mode is preferable. If you have a mobile camera then that’s pretty much=h it however you can use others tools to give yourself a better shot. You can use a tripod to make your camera stable as well be working with high exposure shots a slight movement can ruin our photograph. Sliders and other costly equipment are not advisable.
Setting up the camera
Make sure to setup you camera on a sturdy tripod or if you don’t have a tripod then make sure to rest your camera on the ground and make sure it does not move. By now you have the direction , the rising time of the milky way and an idea about the moon phase.
If you want to know the basic principle behind all these settings ISO, APERTURE, SHUTTER SPEED
Click – https://harshsharmatechnicals.com/2018/04/14/camera-basics-iso-aperture-shutter-speed-explained/
- Make sure to keep the iso as high as possible and change it according to your place but start with the highest value available In my case it was 3200 and I took all the images from the same iso
- Aperture should be wide open lower the number the more is the opening if you have f/1.8 then it’s awesome but 18-55mm lens usually have the lowest value as f/3.5 and it was the same in my case
- For shutter speed you’ll have to keep in mind the 500 formula you don’t want star trails on your image if you open the shutter for longer duration then it will start forming star trails as the earth is constantly moving.
500 FORMULA FOR SHUTTER SPEED
If you have a full frame sensor then find out the shutter speed from the following formula
Shutter Speed = 500 / focal length of the lens
While,
For a cropped sensor camera
Shutter Speed = 500 / 1.5 * focal length
In my case the focal length was 18mm so my shutter speed came out to be around 20 seconds
that’s pretty much it for the settings of your camera. Try shooting the image in RAW format rather then shooting it in jpeg or other compressed formats to get the most out the image during post processing.
Let me know if you want a tutorial for post processing as well
All the best !
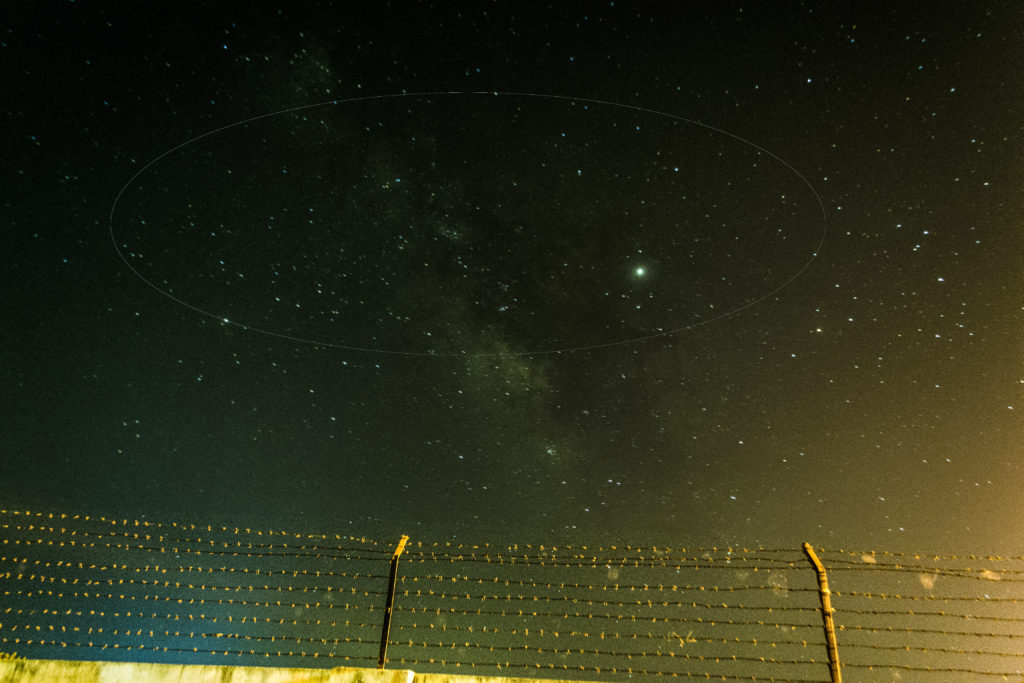
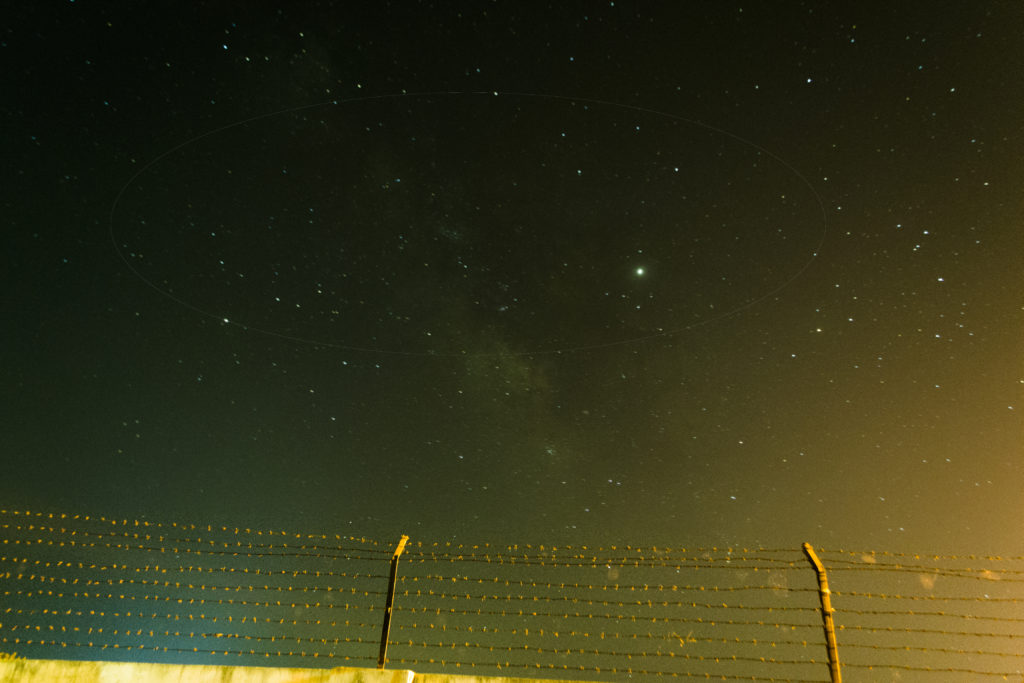
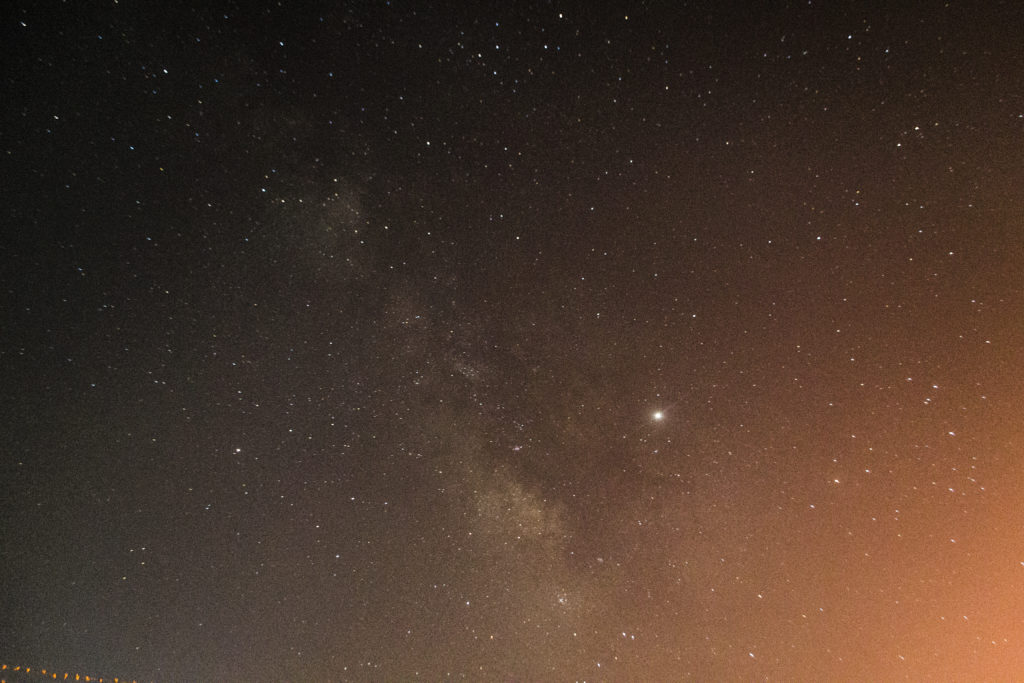
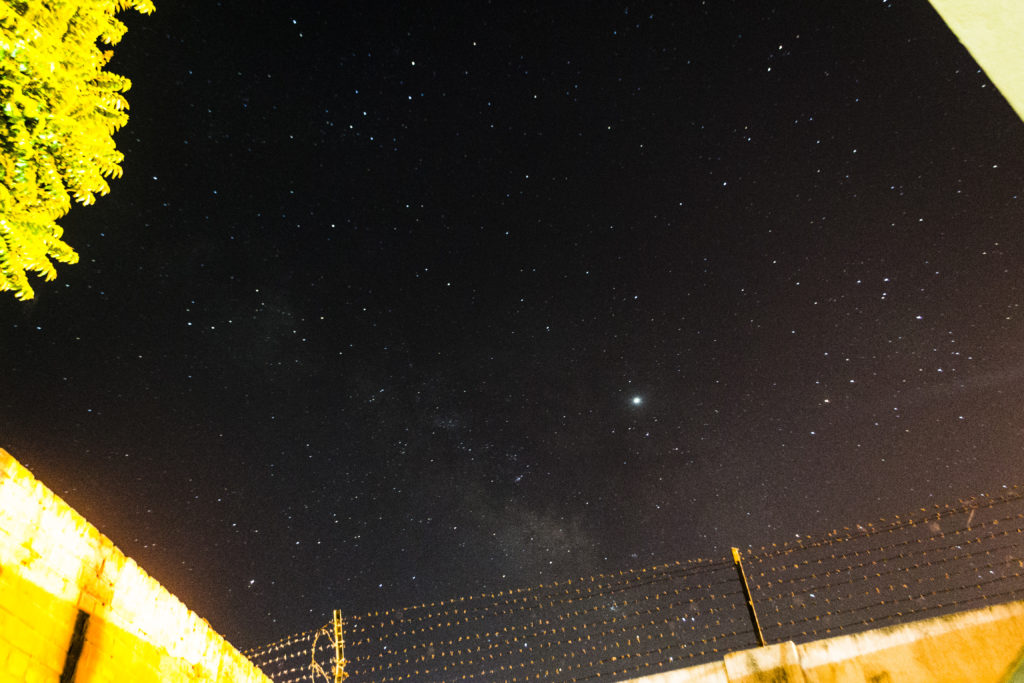
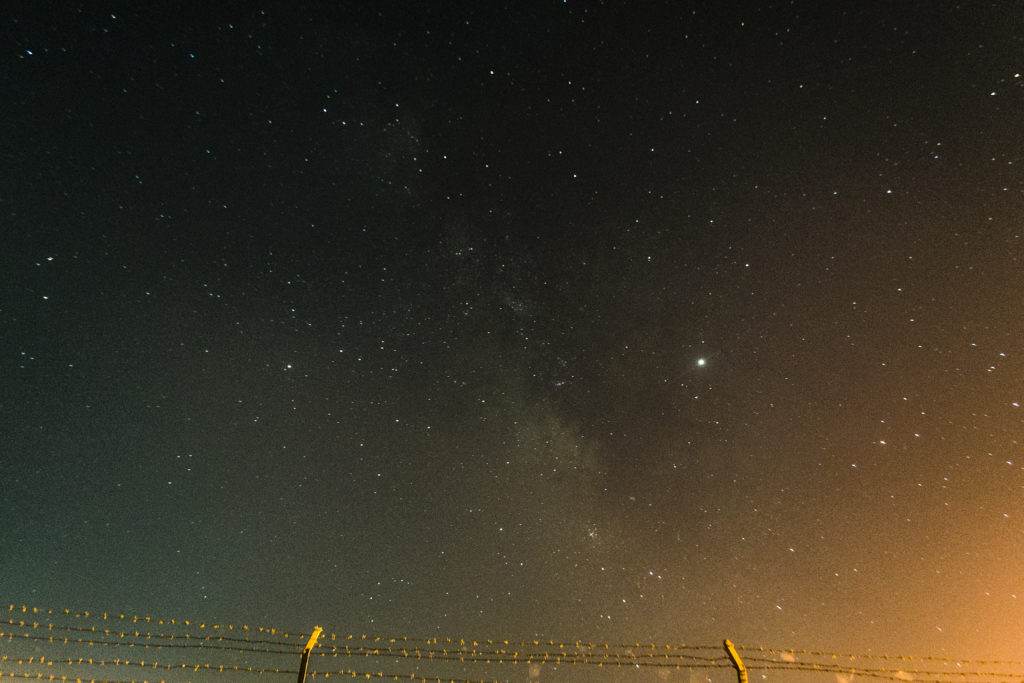
My Photographs
ISO – 3200
SHUTTER SPEED – 30 SECONDS
APERTURE – F/3.5